Create Your Dream Retro Gaming Setup
IT PROJECTSFEATURED
One of the most satisfying things I have accomplished with my home lab is creating a retro gaming setup to appreciate and preserve aging video games from a number of old consoles. It is a project I have wanted to pursue partially for nostalgia purposes, and partly as an IT project to learn about Linux.
Want to experience RetroPie, but feel limited by the Raspberry Pi? This guide shows you how to install RetroPie on a laptop or PC to unlock better performance and new features.
I originally built my RetroPie system on a Raspberry Pi 3B+ running Debian, with EmulationStation as the interface. While the Pi was great for its small size, quiet operation, and low power consumption, it struggled with games from later eras – anything beyond the 32-bit generation suffered from glitches and dropped frames.
To overcome these limitations, I switched to a reliable and affordable Dell Latitude E6430 laptop. Upgrading to this laptop with a 1TB SSD allowed me to smoothly play games up to the Sega Dreamcast and PlayStation 1 era, and conveniently store all my games directly on the internal drive.
This guide will walk you through the process of setting up RetroPie on a laptop, and also cover some cool extra features, including:
Recording your gameplay sessions.
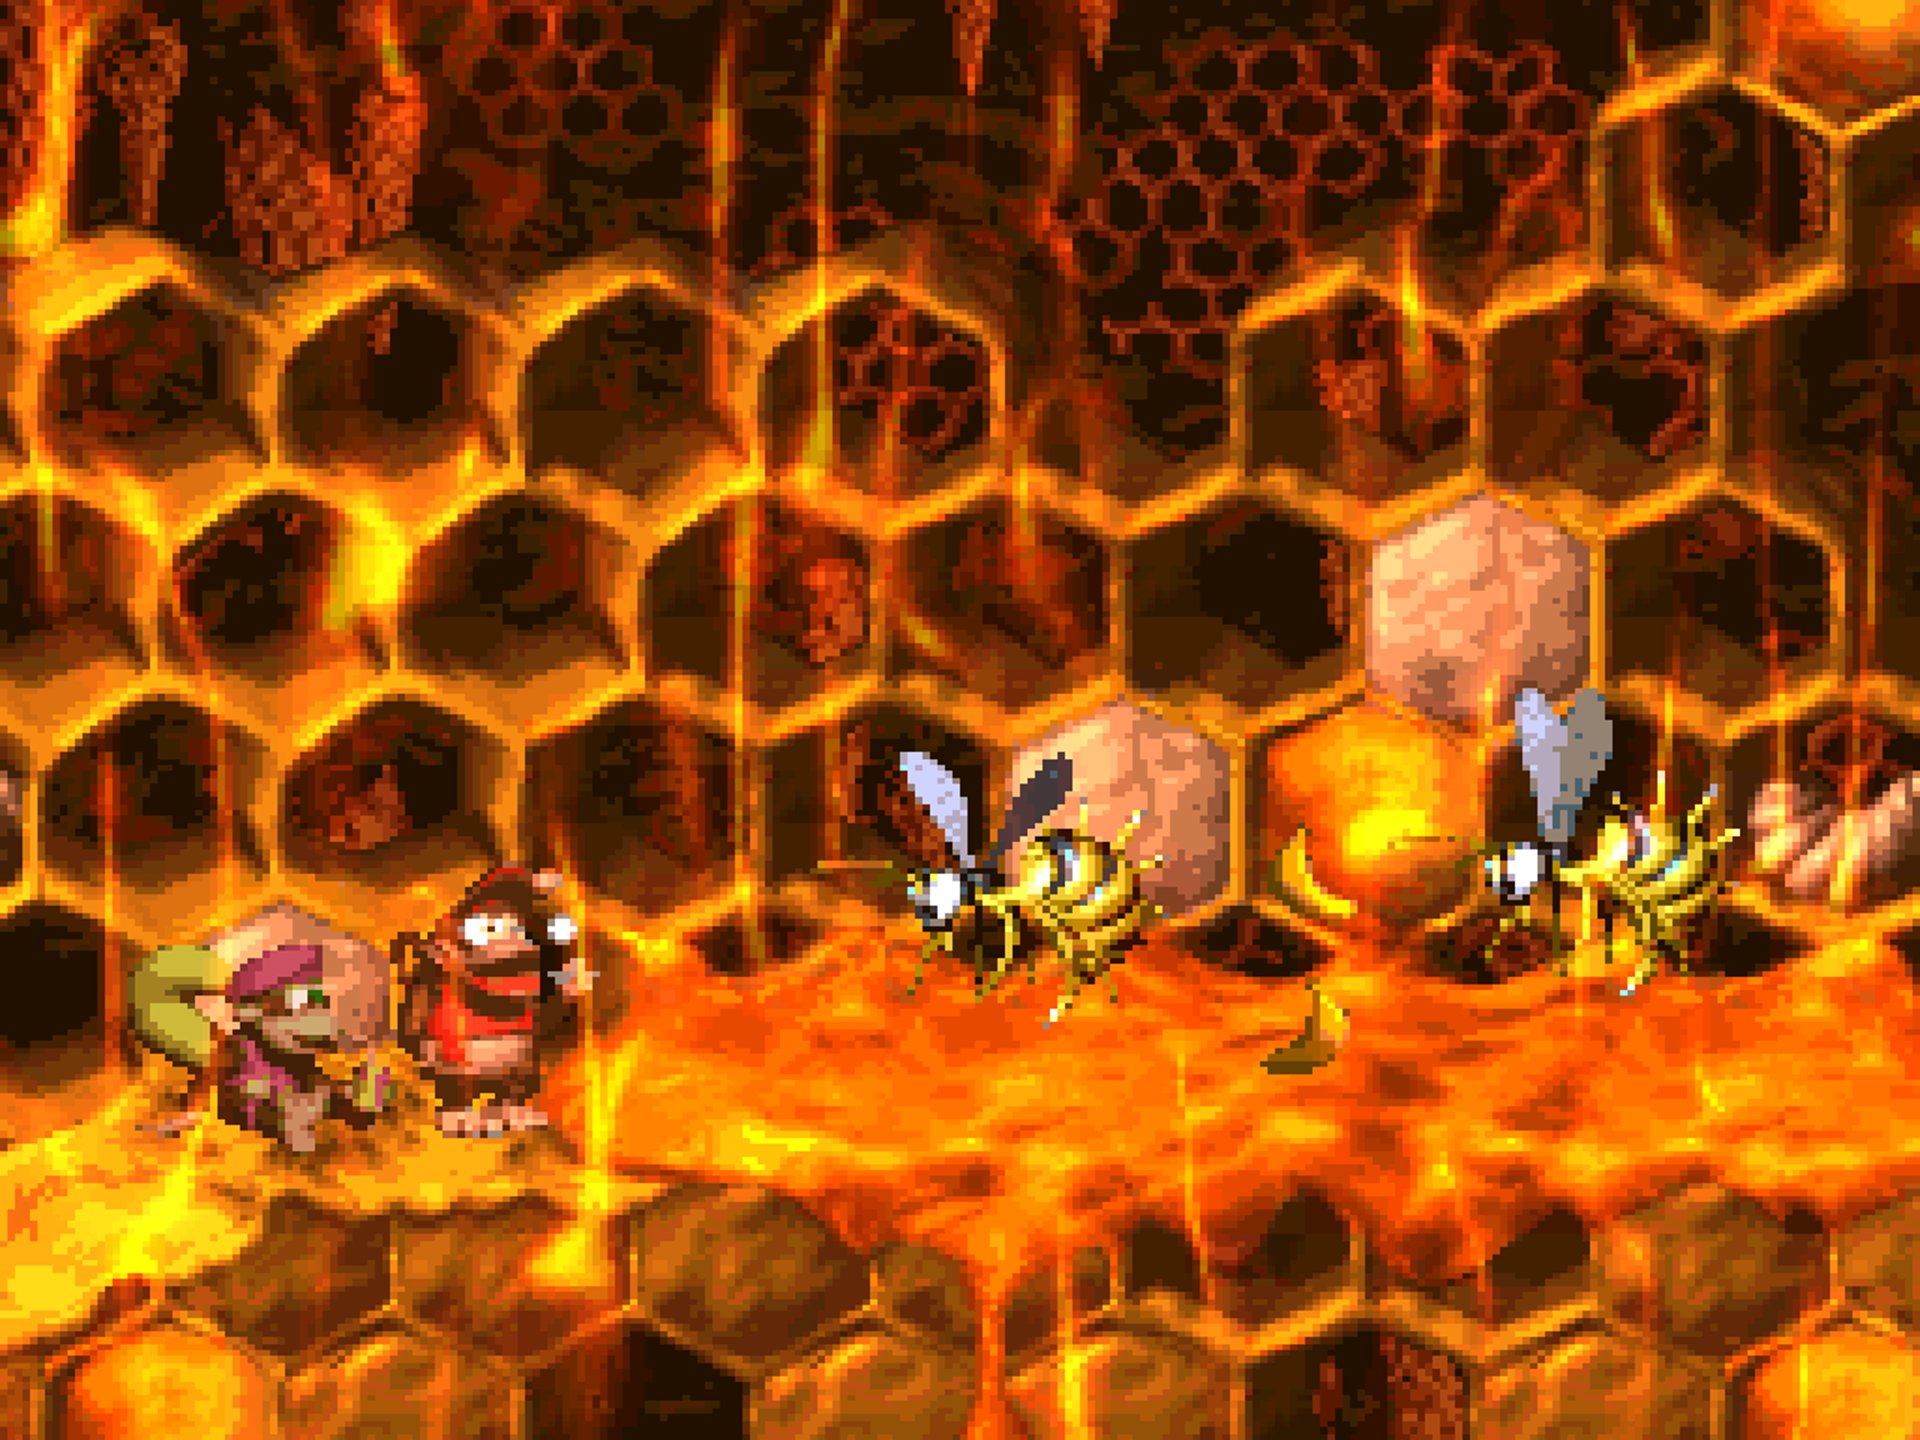
Playing Windows games (like the fan-made Donkey Kong Country 4: Return of the Kongs) using virtualization.
Creating backups and restoring your entire system.
Remotely managing your setup – download and copy games from any device on your network.
Ready to get started? Here's how I did it.
What you will need:
An inexpensive laptop such as this one: Dell Latitude Notebook
Minimum requirements for a laptop:
-CPU: 2Ghz dual processor
-RAM: 4GB
-HDD/SSD: 250GB (but 1TB is recommend for storing additional games)
Ubuntu Desktop installed on the laptop (laptop is preferred for portability but a PC is fine too). Ubuntu is a lightweight Linux OS that is non-CPU intensive yet powerful.
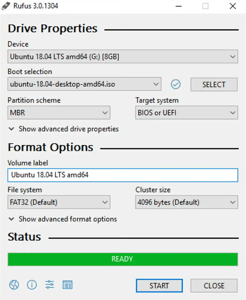
USB flash drive (at least 4GB) and Rufus to flash it and make it boot-able.
Install Retropie
Install VMware Workstation Player (to run Windows-based PC games)
You can also download VMware Workstation Pro version for FREE
Install VNC Server (to administer from another computer)
Install OBS Studio (for recording your gaming sessions)
Install Retroarch (required for certain emulators)
Install Grsync (to backup your games and files)
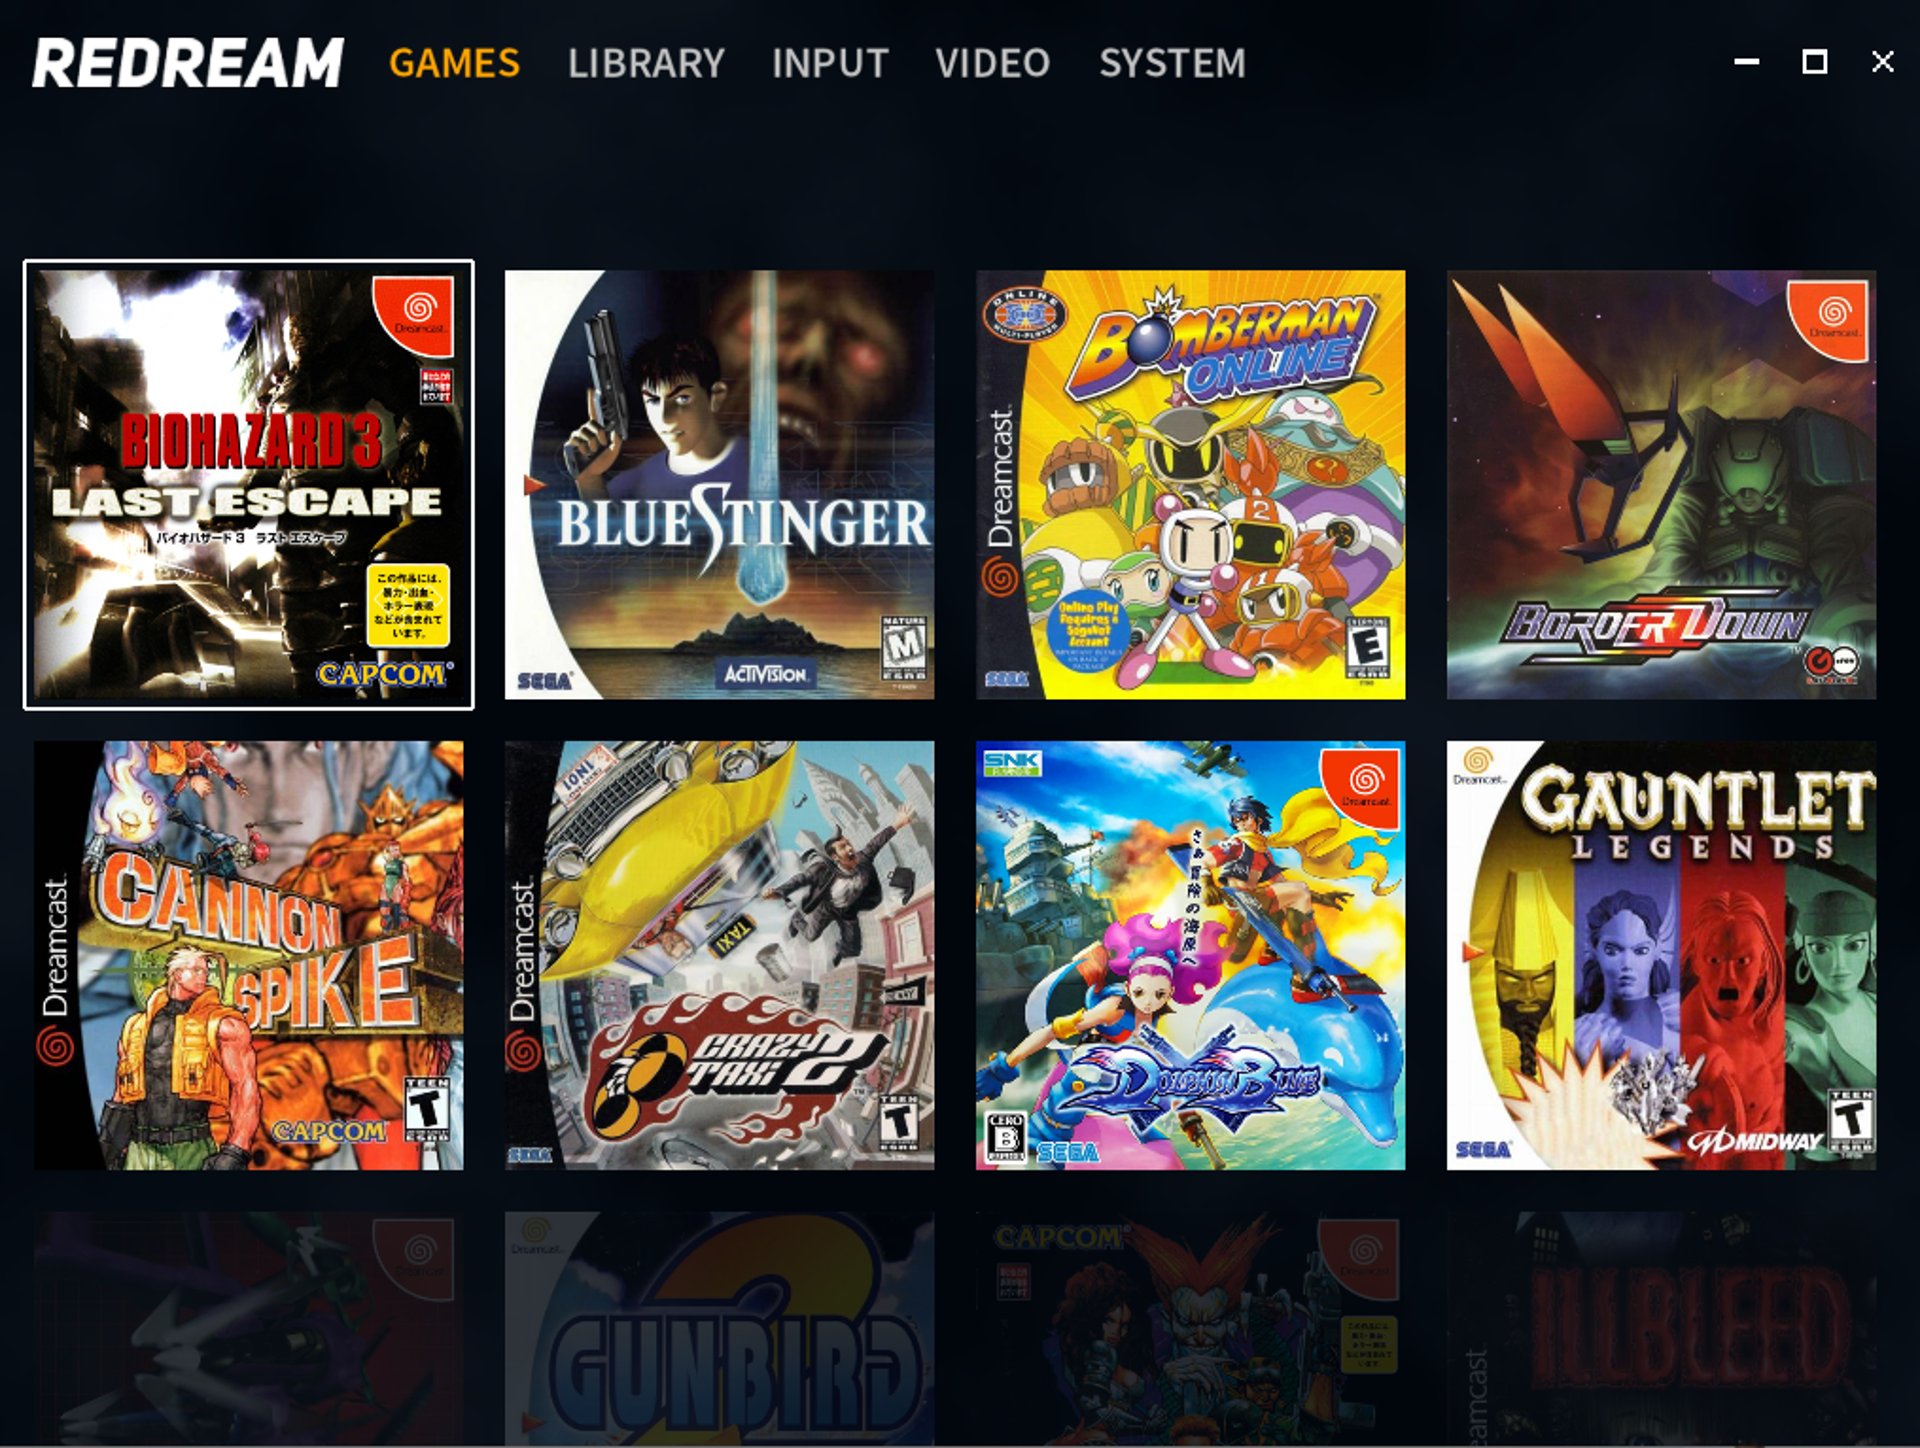
Install ReDream (separate blog)
Install X11VNC Server (to allow remote access from a Windows PC)
All necessary BIOS files from consoles that need it (PS2, Saturn, TurboGrafx, etc)
Initial Setup
Download Ubuntu Desktop on a computer that won't be used for Retropie.
Insert your USB flash drive, launch Rufus (or install it first if you haven't already) and select the dropdown under 'Boot Selection' and browse for your Ubuntu ISO image. Keep the defaults, name your flash drive under 'Volume Label', then click 'Start' to reformat your USB and create the bootable Ubuntu image.
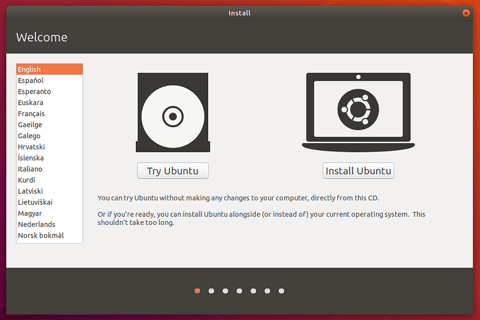
Once finished, insert the USB flash drive into the computer for Retropie and boot the computer. When the BIOS screen first appears, select the correct key to enter the BIOS setup to ensure you boot from the USB device, on a Dell computer it is the F12 button.
Boot to your USB flash device and follow the steps in the wizard to install Ubuntu Desktop.
Once installed, launch the Terminal. If you aren't familiar with the Ubuntu Terminal that's OK! Just follow along and learn as you go.
First, let's ensure we keep up to date with the latest updates and packages on Ubuntu, so type: sudo apt-get update && sudo apt-get upgrade and hit enter.
You can reference the official documentation for installing Retropie here, or you can follow along as I am running the same commands from the official documentation. Once the updates have completed,
Type: sudo apt install -y git dialog unzip xmlstarlet hit enter (if you encounter any errors, reference the Retropie official documentation guide above).
Type: git clone --depth=1 https://github.com/RetroPie/RetroPie-Setup.git hit enter
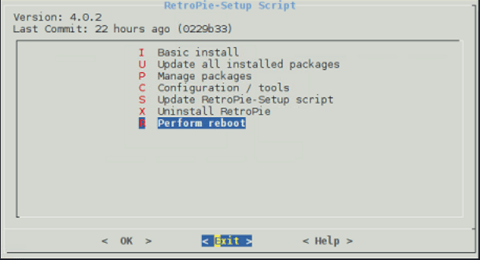
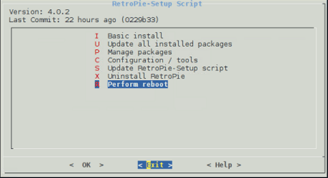
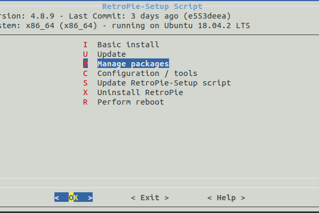
Type: cd RetroPie-Setup hit enter, then type: sudo ./retropie_setup.sh hit enter
You should now reach this screen, click the top option for Basic Install to install the required components including EmulationStation (the frontend for Retropie) then later we will install optional components.
Once installed, go back to the Terminal and type: reboot
Once rebooted, open Terminal and type: emulationstation
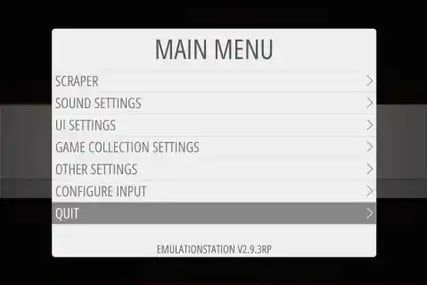
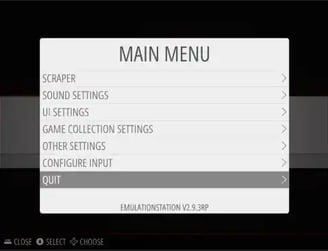
Go to Retropie Editor->Retropie Setup, choose 'Configuration / tools' and setup Autostart for EmulationStation.
Navigate to: cd /etc/ and edit sudoers and add the following line to the file:
<user> ALL=(ALL) NOPASSWD:ALL this will not prompt a password for sudo which could otherwise cause problems when the system reboots. Please refer to the official Retropie guides on running this as it does pose a potential security risk.
Attach a wired USB gaming controller you wish to use and reboot your computer; you should be presented with your Retropie gaming setup automatically at startup.
Need help choosing a gaming controller that is compatible with Retropie? Check out these options. For Bluetooth gaming controllers, Retropie docs also have guides for that.
Upon auto-launching Retropie, the software should detect your gaming controller and ask you to configure it. Go through the steps and hold a button on the controller if you wish to skip mapping that particular button.
So, what have we accomplished so far? You have successfully installed a Linux OS, installed and configured basic settings for Retropie, configured the frontend to launch at startup, and configured your gaming controller to start playing games, congratulations! But you have no games to play yet...lets fix that.
Press 'Start' on your game controller, then 'Quit', then 'Exit EmulationStation'
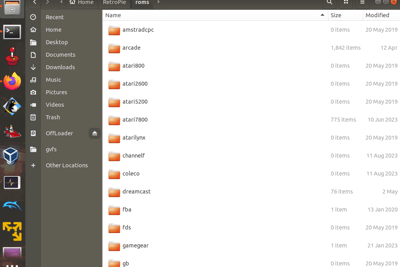
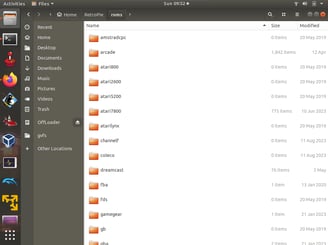
Launch the File Manager and navigate to Home->Retropie->Roms folder to see a list of preinstalled emulator folders where you can drag and drop your roms to.
NOTE: Obtaining pirated roms is illegal and is not the advised method for the purposes of this blog. Should you need to download roms for your emulators, use sites such as Archive.org which hosts data and information under the creative commons (CC) license. Archive.org considers the information to be in the public domain and no longer under copyright protection. However, check the specific license before downloading anything as not everything is covered under the CC license. Sites that advertise 'abandonware' may also be a source but verify that the abandonware site is trusted before proceeding with any downloads.
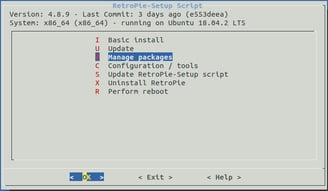
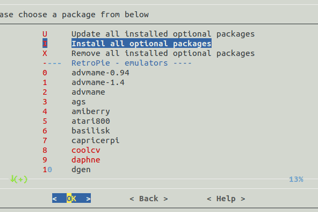
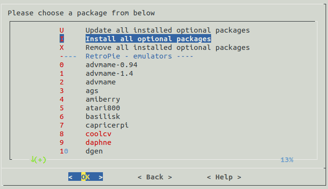
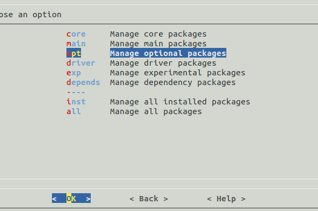
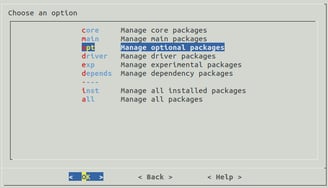
If you wish to only play games on the pre-installed emulators, go ahead and download your legal roms and drag them to the specified folders, then launch Retropie and the available consoles will populate along with the game list. If you wish to download additional emulators, launch Retropie and go to 'Retropie Configuration', click 'Manage Packages', then click 'Manage Optional Packages'. From here you can choose to install all optional packages which would install all emulators in this list, that is a bit overkill as you likely won't need all of these. You can go through one by one and install the particular emulators you want to play for the roms you have. Remember that there may be multiple emulators for a system and not every emulator can play every rom, for example if you have roms for MAME arcade, the version of rom may work for the Advmame 0.94 emulator but not for the Advmame 1.4. Ensure you have the correct version of rom that matches your emulator, if you are not sure how to do this, see the article here.
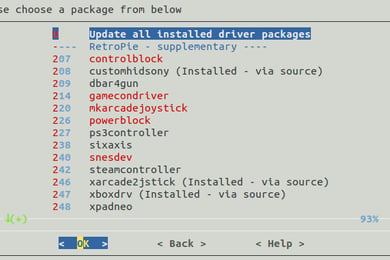
Once you have finished installing your optional emulators, go back to the main setup menu and select 'Manage driver packages', this is important when you are using controllers such as the Xbox One controller, PlayStation controller, or a joystick for arcade play. Install the driver packages from the screenshot below to cover your bases for now, then you can install more as you add new controllers.
Click 'Back' until you get to the setup menu, click 'Exit', then exit Retropie completely.
Navigate to your Files folder and copy all your remaining roms to their corresponding emulator folder.
NOTE: Some Emulators require BIOS files to run roms such as Sega Saturn, PlayStation 2, Sega Dreamcast, MAME, Neo Geo, and others. If you are unable to load your games on these systems, it is likely you need the corresponding BIOS file or the correct version of BIOS file. BIOS files are typically separate from the rom and are not included, however, simply Googling the console name and emulator will typically point you in the right direction. Refer to the Retropie docs to find which directory your BIOS files need to be copied to.
Relaunch Retropie and you should see Retropie automatically detect the emulators that have roms in their folders, you can now scroll through and select a game system and play!
At this point, you have completed the basic steps to get started with Retropie, but there are so many customizations that we can add to make your experience much more personalized and fun. Let's have a look at some customizations below.
Install the free screen recording software for Ubuntu that captures both video and audio with no size limitation. Launch the Terminal and type:
sudo add-apt-repository ppa:obsproject/obs-studio hit enter. You can save your recordings locally on your laptop/PC or to a
remote file share to access from another computer.
Install the remote management tool VNC Server so you can remotely administer your Ubuntu machine. I find this guide explains the process the best.
Install VMWare Workstation Pro so you can run Windows PC games on your Ubuntu machine. My blog explains how to install and configure the virtualization tool. This tool is one of the only hypervisors that allows for USB pass-through, a neccessary feature for playing games on a virtual machine. As a bonus, the blog includes how to download and play the fan-created Windows game Donkey Kong Country 4: Return of the Kongs!
Install system management tools (GParted, BleachBit, Tweaker) to help with disk partitioning, system cleanup, and personalization. My blog here walks you through these options.
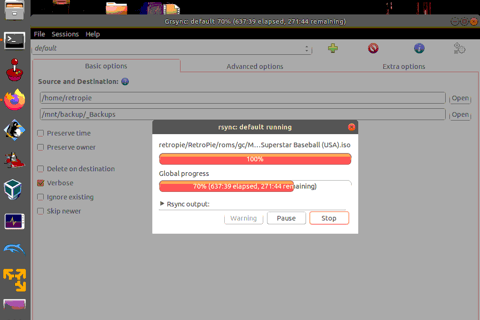
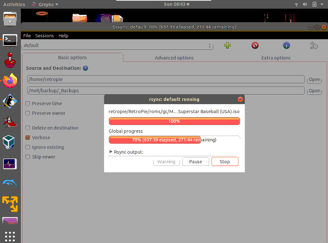
Install the backup and restore tool Grync (GUI version of Rsync), launch the Terminal and type: sudo apt install grsync hit enter. You can configure settings to backup your data to a file server or to external drive.
Your configuration of Retropie is now complete! Ask me any questions you have.